From Sketch to CNC: A Furniture Designer’s Workflow for One-Off and Small Batch Production
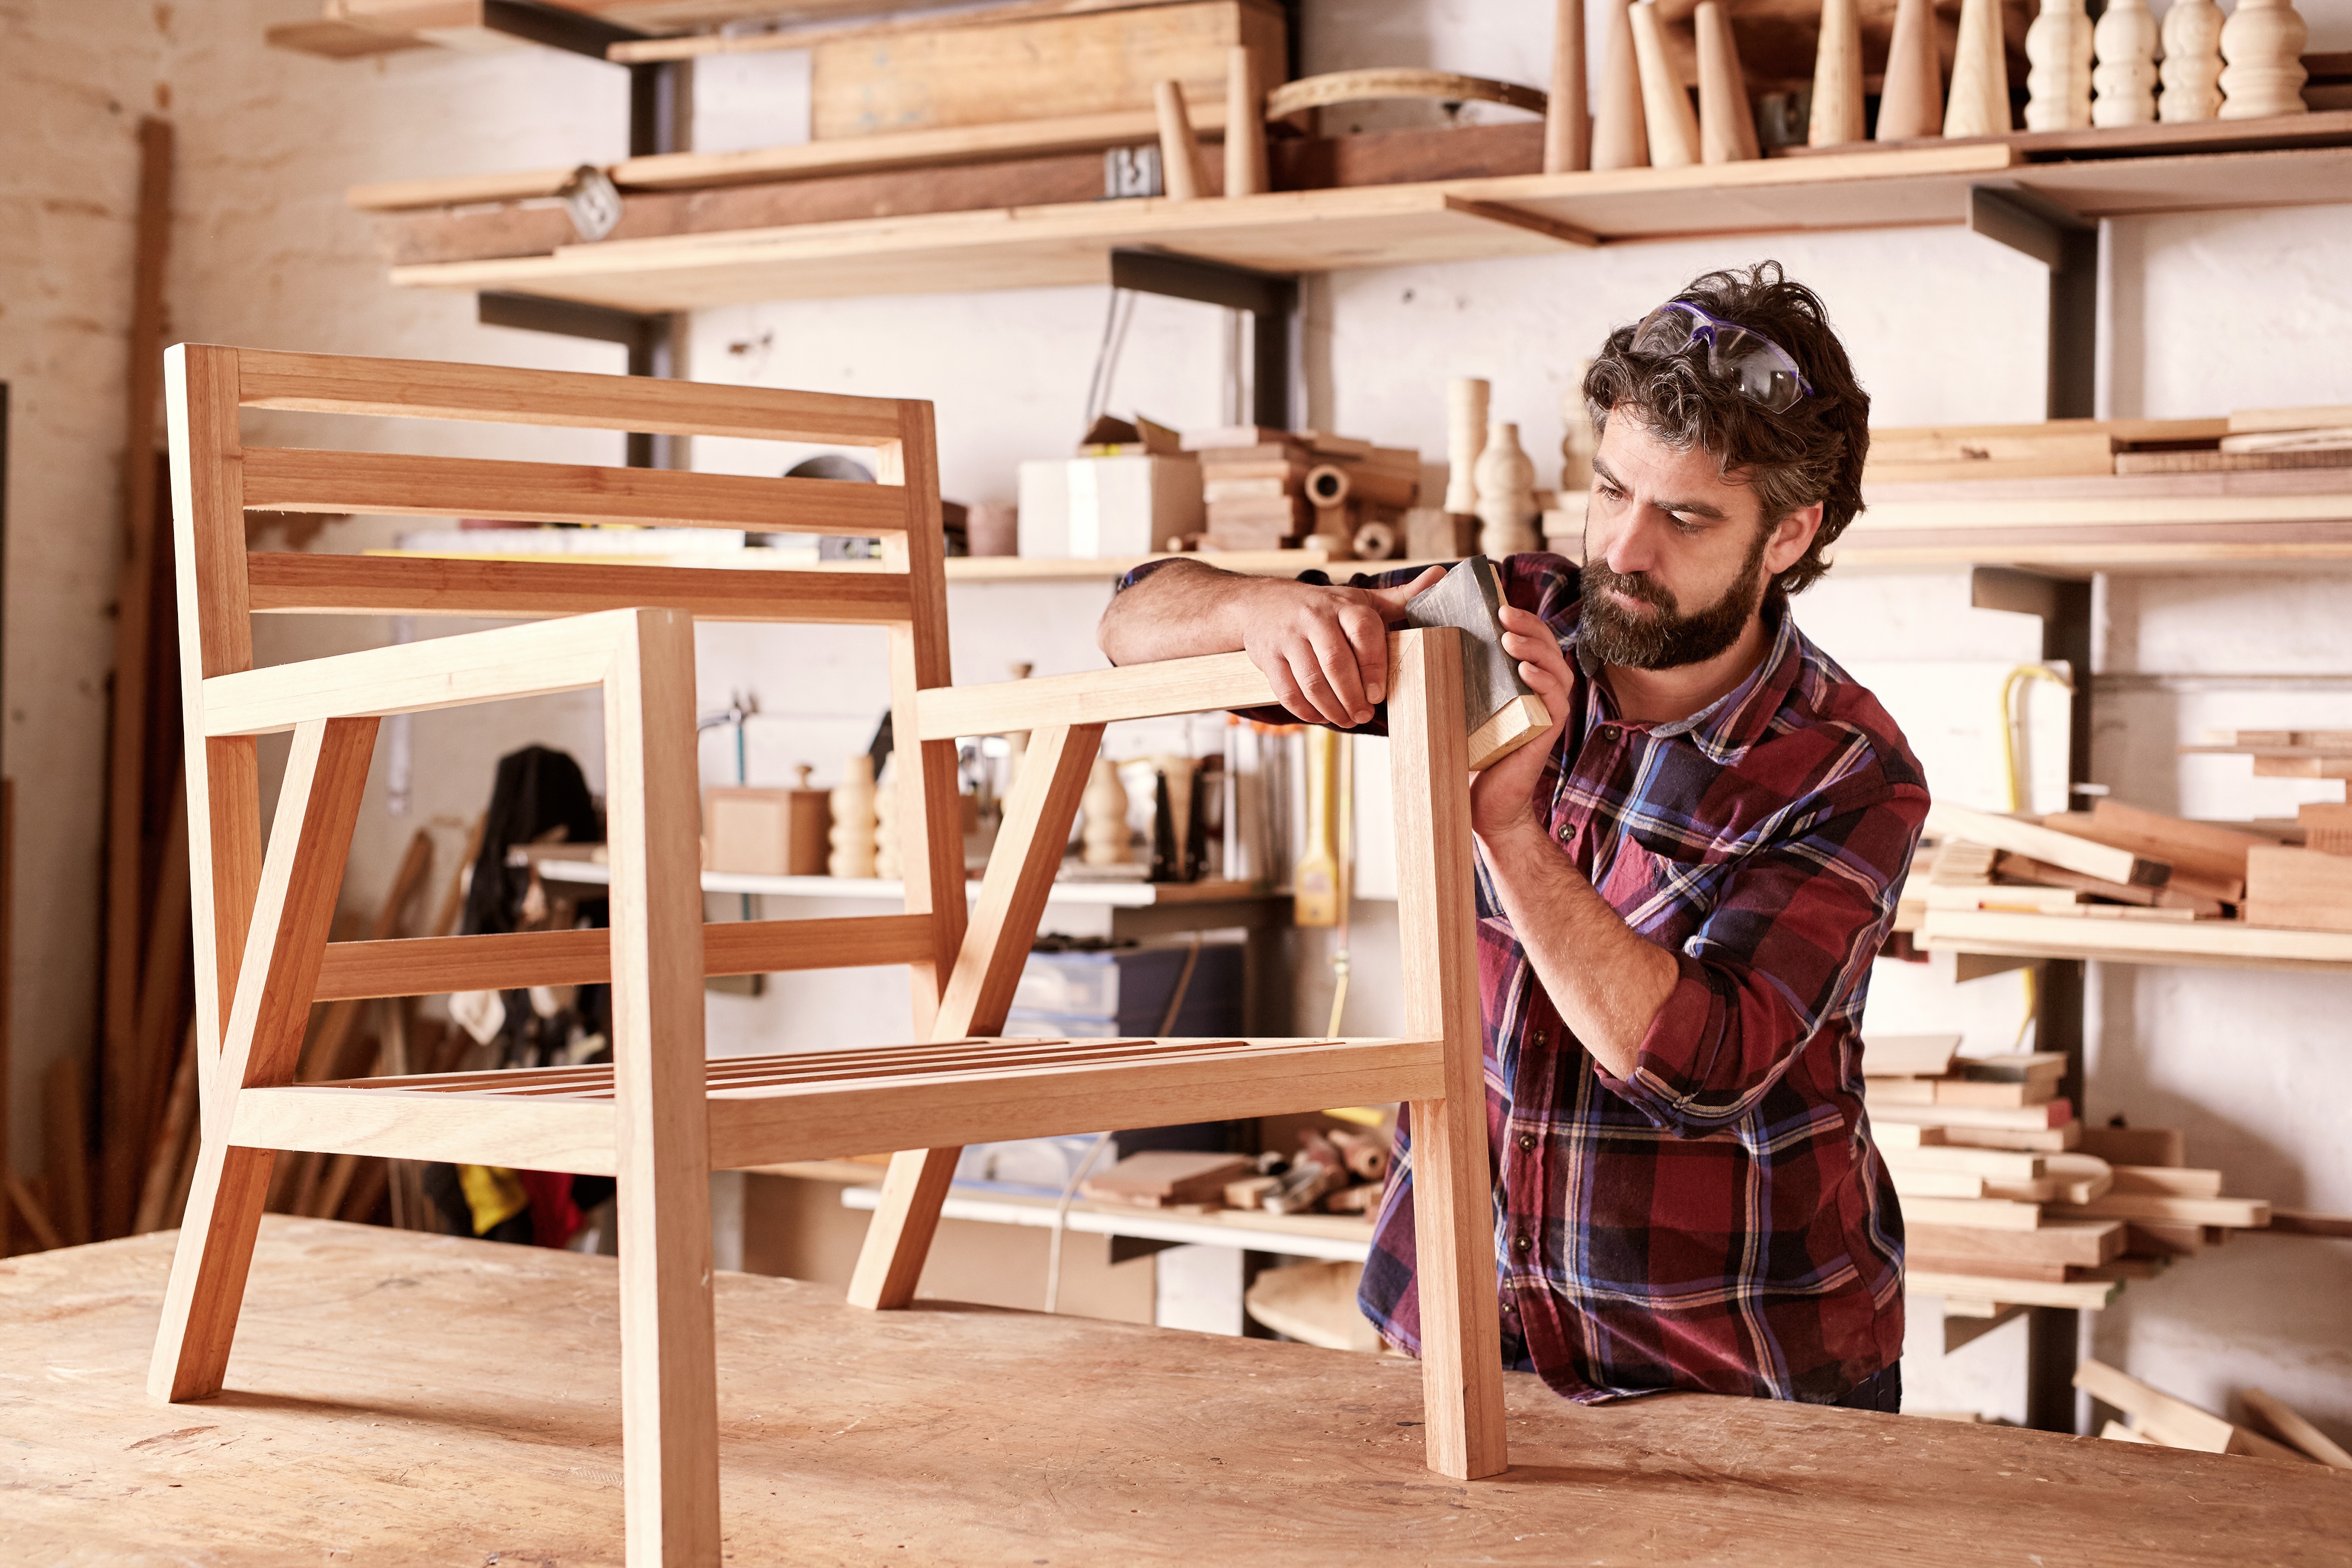
TL;DR: A furniture designer’s CNC workflow runs in five stages: sketch the piece, build a 3D model, program toolpaths in CAM software, nest the parts onto stock, and post the G-code to the machine. For one-off and small batch work, the payoff is repeatable accuracy on parts that would be slow or inconsistent to cut by hand.
The workflow is easy to describe and harder to live with. A CNC router cuts a part to the exact geometry of a model, every time, which is the one thing hand work cannot fully guarantee across a run of identical pieces. What the description leaves out is where the hours actually go. On a one-off or a short run, the cutting is rarely the bottleneck. The modeling, the toolpath programming, the fixturing, and the revisions eat the hours. Knowing that is the difference between a router that earns its footprint and an expensive table that mostly holds clamps.
Most furniture and cabinetry runs on 2 1⁄2-axis and 3-axis toolpaths cutting parts from sheet stock, with the occasional carved or laminated component that asks for more. So the designer’s job is to know which parts belong on the machine, which belong on the bench, and what the software has to do well for the first group to be worth the trouble.
Where CNC Earns Its Place in One-Off and Small Batch Furniture
The honest test for putting a part on the router is whether its value lives in geometry. Geometry that repeats, geometry that has to be exact, or geometry that is simply faster to define once on a screen than to lay out by hand every time.
That covers more furniture work than it sounds. A matched set of drawer pulls or chair components that has to be identical across the set. Bending forms for compound curved laminations, where the form’s accuracy decides whether the lamination closes cleanly. Polygonal miters that need to meet without a row of test cuts first. Arrays of adjustable shelf holes drilled to the same spacing every time. Inlay grooves and pockets cut to a tolerance the eye will catch if it drifts. None of these reward the hand the way a hand-cut dovetail does. They reward precision and repetition, which is exactly what the machine is for.
Curtis Erpelding’s shop is a useful illustration, because he came to CNC from the craft side rather than the other way around. Erpelding has built fine furniture in Port Orchard, Washington since the late 1970s, producing his own line of bentwood stackable chairs and tables alongside commissioned pieces that read as much as sculpture as furniture. He built his own 3-axis router in the mid-2000s and put it to work on exactly the geometry-defined tasks above: cutting templates, carving legs, making lamination bending forms, drilling adjustable shelf holes, cutting miters that close without trial fitting, and routing grooves for inlay. The craft judgment stayed where it belonged. The repeatable, geometry-driven work moved to the machine.
That division is the whole point. CNC removes a specific category of slow, error-prone work from the bench so the maker’s time goes to the parts that actually need a maker.
How to Turn a Furniture Sketch into a Machinable 3D Model
The model is where a lot of downstream trouble is either created or avoided. A surface built cleanly takes a finishing toolpath cleanly. A surface stitched together from mismatched patches hands the CAM software trouble it will pass straight through to the cut. Undercuts, sharp interior corners, and features smaller than any cutter you own all have to be designed with the machining in mind, because the tool cannot make geometry it cannot physically reach.
This is also the step to be skeptical about. Not every piece justifies a 3D model. For a single chair built from a design already worked out in the maker’s head, a full-scale drawing, a story stick, and a bandsaw will often beat an afternoon at the keyboard. The model earns its place when the geometry repeats across a batch, when the part has to be machined anyway, or when the design is going to be revised and you want those revisions to be cheap. Building a careful model for a one-off you could have cut by hand in the same time is just a different way of being slow.
When the model does earn its place, the target is a clean, watertight solid or surface set, oriented and dimensioned the way it will actually sit on the machine. That is the file the next step needs.
How CAM Software for Woodworking Turns a Model into Toolpaths
CAM is where the model becomes motion. The sequence is the same on every part: define the stock, choose a machining operation for each feature, define the tool, set the cut parameters, simulate, and post to G-code. What changes with wood is the detail inside each of those steps. Cut direction matters because climbing and conventional passes tear grain differently on a given species. Tabs and bridges hold a part to the surrounding sheet so it does not shift or lift when the perimeter is cut through. Custom form tools let you cut a molded profile or an undercut that no standard end mill can produce.
Erpelding’s drawer pulls are a good worked example, because the part looks trivial and is not. The dresser they belong to is European pearwood, 72 inches wide, 22 deep, and 36 tall, with eleven drawers, and every drawer carries a matching pull. Cutting eleven of those by hand and having them truly match is the kind of job that quietly eats a week. The pull itself is small, around 1.375 inches wide and 0.676 high. Its defining feature is a curved undercut pocket, with the top of the part and the base of the pocket each swept on a large radius (96 inches and 71.5 inches respectively). One end carries flats cut with deep and shallow joinery slots. It is not a flat-bottomed pocket, and that is what makes it interesting to program.
The job runs as a single setup with a handful of operations. A 2½-axis pocketing pass roughs out the bulk of the pocket with a quarter-inch flat end mill, cutting in seven levels of about an eighth of an inch each to a depth just over half an inch, entering on a ramp and leaving a few thousandths for finishing. Three profiling passes rough and then finish the outer perimeter, with automatic bridges and tabs holding the part to the stock and the two finish passes run in opposite directions to clean both walls. The undercut is the clever part. A standard pocket cycle cannot make it, so it is cut with a custom form tool driven along a series of engraving paths, six of them clearing the pocket in flat steps and a seventh tracing the exact curve at its base. A final 3-axis parallel finishing pass crosses the 96-inch top radius with a ball mill at a tight stepover. Then the whole set of pulls is cut in one run by instancing that single program across the stock, so the parts come out identical because they ran the same toolpaths, not because someone repeated themselves eleven times without drifting.
Erpelding is candid that this took real learning. His approach on tricky sections includes easing feed rate in corners, and he has noted that the way a curve is drawn (as 3D polylines versus other curve types) changes the code that comes out of the post. That is the real learning curve with CAM software, and it is the part the marketing skips. The mechanics of a package come in a few days. The judgment about which toolpath suits which feature, and what will and will not post cleanly, takes longer and is the part no menu teaches.
A short reference for the operations that come up most in furniture work:
|
Operation |
What it does |
When to use it in furniture |
|
2½-axis pocketing |
Clears flat-bottomed recesses to a set depth |
Hinge mortises, inlay recesses, hardware pockets |
|
2½-axis profiling |
Cuts along a part boundary, tabs holding it in place |
Cutting parts and panels free from sheet stock |
|
3-axis parallel finishing |
Follows a curved surface at a consistent stepover |
Seat scoops, curved tops, sculpted faces |
|
Engraving / form-tool paths |
Drives a profiled tool along a defined curve |
Moldings, beads, undercut pulls, and details |
|
Drilling |
Places holes at defined locations |
Shelf-pin arrays, dowel and joinery holes |
|
Nesting |
Lays parts across sheets for a single run |
Batch-cutting cabinet and case parts |
Why CAD-CAM Integration Matters More Than Toolpath Count for Small Batch Furniture
For one-off and small batch furniture, how well the design and the machining stay connected matters more than the number of exotic toolpath strategies the software can list. The reason is that small batch work is revision work. A client changes a dimension. A prototype gets adjusted after the first one is sitting in the shop. A joint needs to move a quarter inch. On a production run of thousands, you program once and revisions are rare. On a run of three, revisions are the job.
When the design tool and the CAM tool are separate applications, every one of those changes means exporting the geometry again, rebuilding the associations, and regenerating the toolpaths. On a shop that revises constantly, that overhead compounds into real lost time, and it adds a fresh chance for error on every rebuild. That is the practical argument for keeping CAD and CAM in one place rather than bolting one onto the other. Tools like VisualCAD/CAM put the modeling and the machining in a single application, so when a dimension changes, the toolpaths that reference it move with the model instead of being reconstructed by hand.
This is the spec-sheet trap. Makers tend to compare CAM packages on strategy count and axis capability, because that is the part that photographs well in a feature list. But most furniture will never touch a fraction of those strategies, and the simultaneous 5-axis capability that justifies the price on an aerospace floor is dead weight in a shop cutting flat parts and the occasional carved component. The feature that actually decides whether the workflow is livable, day to day, is rarely the one at the top of the comparison chart.
How Nesting Software Handles Grain Direction and Material Yield in Furniture CNC
For anything past a single piece, parts get nested, laid out across a sheet of plywood or panel stock so the machine can cut a batch in one run. Good nesting software packs the parts to use the sheet efficiently, adds the bridges and tabs that hold them during cutting, and turns small batch CNC manufacturing into a matter of loading a sheet and starting the program. On expensive hardwood ply or veneered panels, the difference between a tight nest and a careless one comes straight off the material bill.
There is a tension here that woodworking has and metalwork does not, and the software will not warn you about it. You cannot always nest purely for yield, because grain direction and figure matter on anything that will be seen. An optimizer packing parts for maximum material use will happily run the grain the wrong way on a visible face, or split a matched pair across mismatched areas of a board. The working compromise most makers settle on is to place the visible parts by hand, with the grain where it needs to be, and let the optimizer pack the hidden structural parts around them. Yield matters. It just does not get the final say on the parts that show.
When CNC Is the Wrong Choice for a Furniture Project
It helps to be plain about where this workflow stops paying off, because a post that only sells the upside is not much use to anyone deciding what to buy.
CNC is the wrong call when the setup costs more than the part saves. A true one-off of simple geometry, the kind of thing you could lay out and cut by hand in an hour, does not justify an hour of modeling and programming first. It is the wrong call when the value of the piece is in the hand. A hand-cut dovetail and a routed one are not the same object, and for some work and some clients that difference is the reason to do it by hand. It is the wrong call for freehand and sculptural forms that resist being modeled cleanly, where the carving is genuinely faster and better than the file would be. And it is the wrong call when the run is too short to amortize the setup, which on highly custom work happens more often than the machine’s owner likes to admit.
None of those are problems better software fixes. They are the edge of the method. A CNC router is not a replacement for the hand. It is a tool for geometry that repeats or has to be exact. It, and the shops that get the most out of one tend to be the clearest about that line.
How to Decide What Belongs on the CNC and What Belongs on the Bench
The maker who gets real value from CNC is the one who is clear about the division of labor between the screen and the bench, and who routes each part to wherever it will actually be made best.
That clarity is getting more valuable. Routers keep getting cheaper, the software keeps getting easier to learn, and the knowledge that used to be locked up in a few shops is now everywhere. As access stops being the constraint, judgment becomes the skill that separates a productive CNC investment from an expensive machine sitting under a layer of dust. The workflow from sketch to cut part is worth learning well. So is knowing which pieces should never enter it.